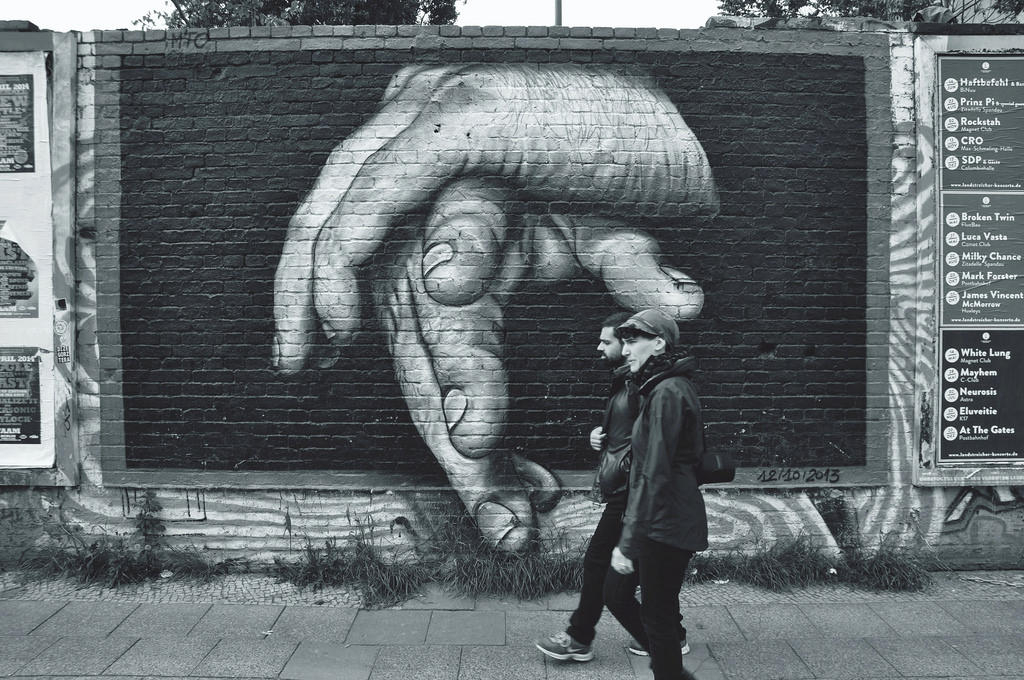

One of the most prominent names associated with three-dimensional (3D) drawing is Leonardo da Vinci. His studies and sketches reflected key elements such as lighting, depth, proportion, anatomy, and motion, demonstrating how drawings could go beyond flat outlines to create a sense of realism and dimension. 1
Today, many artists, designers, architects, and digital creators continue to draw inspiration from 3D drawing techniques to bring their ideas to life through realistic illustrations, visual concepts, and creative designs.
In this article, we will explore the fundamentals of 3D drawing, the essential techniques needed to create three-dimensional artwork, and the tools and resources that can help you improve your skills and perfect your craft.


🔲Understanding 3D Drawing
First, let's look at the significance of 3D drawing in our everyday life.
🧊What is a 3D drawing?
When we draw in 2D (two dimensions), we produce a sketch on our paper with no sense of volume. All that is really taken into account is the width and height of our object. But when we draw in 3D, we include a third dimension: depth.
Here are some benefits that apply to anyone learning 3D drawing, from drawing a face to an interior space:
- Creates realistic and lifelike drawings
- Improves understanding of depth, scale, and proportion
- Develops stronger observation and visualization skills
- Helps identify design issues before finalizing artwork
- Makes it easier to communicate ideas visually
- Encourages creative exploration and experimentation 2

👁️The Role of Perspective in 3D Art
Perspective is the technique that allows you to create the illusion of 3D on a flat surface. The artist takes into account the depth of the scene and reproduces the object as it is perceived from their own point of view. 3
With perspective, 3D drawings are as real as how our eyes perceive them in real life.
🢂 Objects that are farther away are drawn smaller, less detailed and closer together.
🢂 Nearer objects are drawn bigger, more detailed and more dominant.
Three key elements make up perspective:
- Horizon line: Represents the viewer's eye level.
- Vanishing point(s): Where parallel lines appear to meet.
- Orthogonal lines: Guide lines leading toward vanishing points.
↗️Essential Techniques for Drawing in 3D
Next, let's dive deeper into what perspective drawing entails.
📐Mastering Perspective Drawing
Mastering drawing in perspective is necessary to create a realistic drawing and give it volume, such as drawing a hand, for example. Drawing in 3D is not about improvisation. You need to really use your eyes and take in the proportions of your object as faithfully as possible.
We'll be exploring three perspective methods.
✅One-Point Perspective
✅Two-Point Perspective
✅Three-Point Perspective
📍One-Point Perspective
It is the easiest for beginners and is suitable to use when the front of the object faces you directly.
👉 Examples include: Roads, rooms, railway tracks, boxes viewed head-on.
Here are the steps:
Step 1
Draw a horizon line
Step 2
Place one vanishing point
Step 3
Draw the front face of a cube
Step 4
Connect each corner to the vanishing point
Step 5
Close the back edges
Step 6
Erase the construction lines
📍Two-Point Perspective
This perspective involves two vanishing points and is best used when you are looking at the corner of the object.
👉 Examples include buildings, boxes and furniture.
Here are the steps:
Step 1
Draw a horizontal line
Step 2
Place two vanishing points far apart on the line
Step 3
Draw a vertical line for the nearest corner of the box
Step 4
Draw light lines from the top and bottom of that vertical line to both vanishing points
Step 5
Mark where the box should end along those lines
Step 6
Connect the marks with vertical lines to complete the sides and top
📍Three-Point Perspective
This perspective is useful when you want to create a strong sense of height or depth where you include a third vanishing point above or below the horizon.
👉 Examples include looking up at skyscrapers and looking down from a tall building.
Here are the steps:
Step 1
Draw a horizon line
Step 2
Place two vanishing points on the horizon line
Step 3
Place a third vanishing point above the horizon if you are looking up or below if you are looking down
Step 4
Draw a vertical edge for the nearest corner of the box
Step 5
Draw the top and bottom edges toward the left and right vanishing points
Step 6
Draw the vertical edges toward the third vanishing point
Step 7
Close the form by connecting the remaining sides
Learn how to use 3D drawing to design your own tattoo!
📏Utilizing Contour Lines
Contour lines wrap around an object (especially around curves and angles) to show its surface and volume, acting as a boundary in a drawing with the purpose of making it more three-dimensional. 4
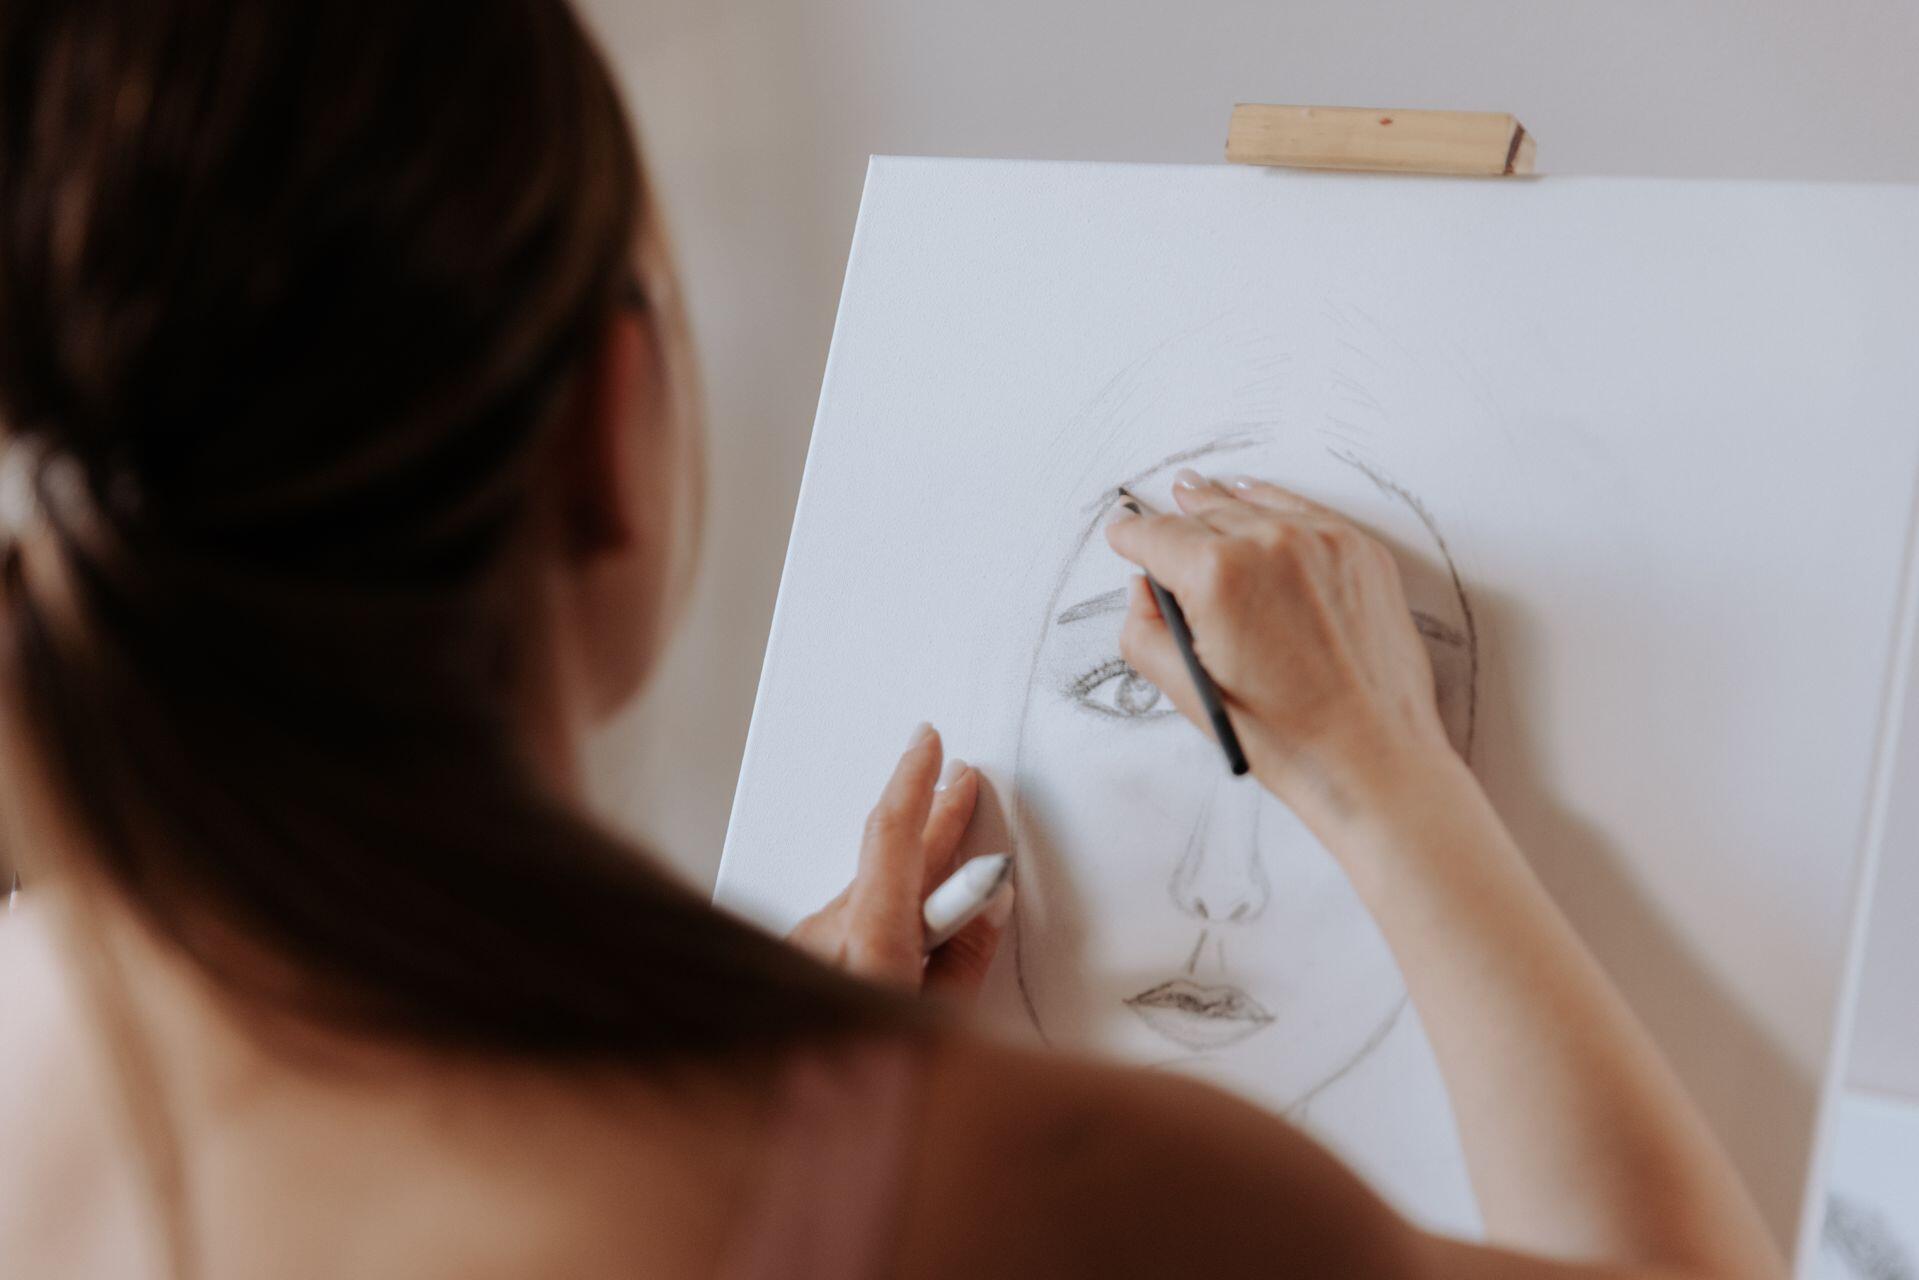
Here are some commonly seen in these examples:
- Sphere: Curved contour lines similar to latitude lines on a globe
- Cylinder: Elliptical contour lines around the curved surface
- Cone: Subtle contour lines with gradually decreasing size as it reaches the tip
- Face or hand: Contour lines can help define and highlight curves, muscle structures and other surface changes 5
🌑Shading and Lighting Techniques
Shading is a very common drawing technique to add depth to a drawing by implying the distance and position of a light source. It would directly affect the types of tones used in the drawing, and most importantly, the depiction of shadows.
Some of the basic shading methods include:
- Hatchching: Using parallel lines to build tone
- Cross-hatching: Using intersecting lines to produce darker areas
- Blending: Creating smooth transitions between tones
- Stippling: Using dots to create texture and tonal variation
Here's a step-by-step guide to depict shadows accurately:
⚪Step-by-Step Tutorials for Drawing 3D Objects
To train yourself up in 3D drawing, it’s important to master the basic drawing techniques. You can practice really easily thanks to the huge range of online tutorials that are available online, with step-by-step guides to help you improve your sketches and create a realistic 3D drawing.
The best way to start is with basic shapes.
Cube
- Draw a square for the front face
- Add a second square slightly offset behind it
- Connect matching corners with straight lines
- Shade one side darker, one side medium, and leave one side lighter to create depth
Cylinder
- Draw an ellipse for the top
- Draw two vertical lines down from the left and right edges
- Add a second ellipse at the bottom
- Shade the curved side more softly than the top and bottom
Sphere
- Draw a perfect circle or light oval
- Add curved contour lines to show roundness
- Shade gradually from light to dark in one direction
- Keep the highlight area unshaded or very light
Cone
- Draw a triangle-like form with a rounded or pointed top
- Add an ellipse at the base
- Connect the top point to the edges of the ellipse
- Add a cast shadow extending opposite the light source
🚀Creating Complex 3D Forms
After mastering the basic 3D shapes, you can start exploring more advanced drawings by combining different basic shapes.
Here are some examples:
| Object | Basic Shapes Used |
|---|---|
| Car | Cubes, cylinders, rectangles |
| Human body | Cylinders, spheres, boxes |
| Animal | Spheres, cones, cylinders |
| Coffee mug | Cylinder + curved handle |
| House | Cube + triangular prism |
| Robot | Cubes, cylinders, spheres |
✏️Tools and Resources for 3D Drawing
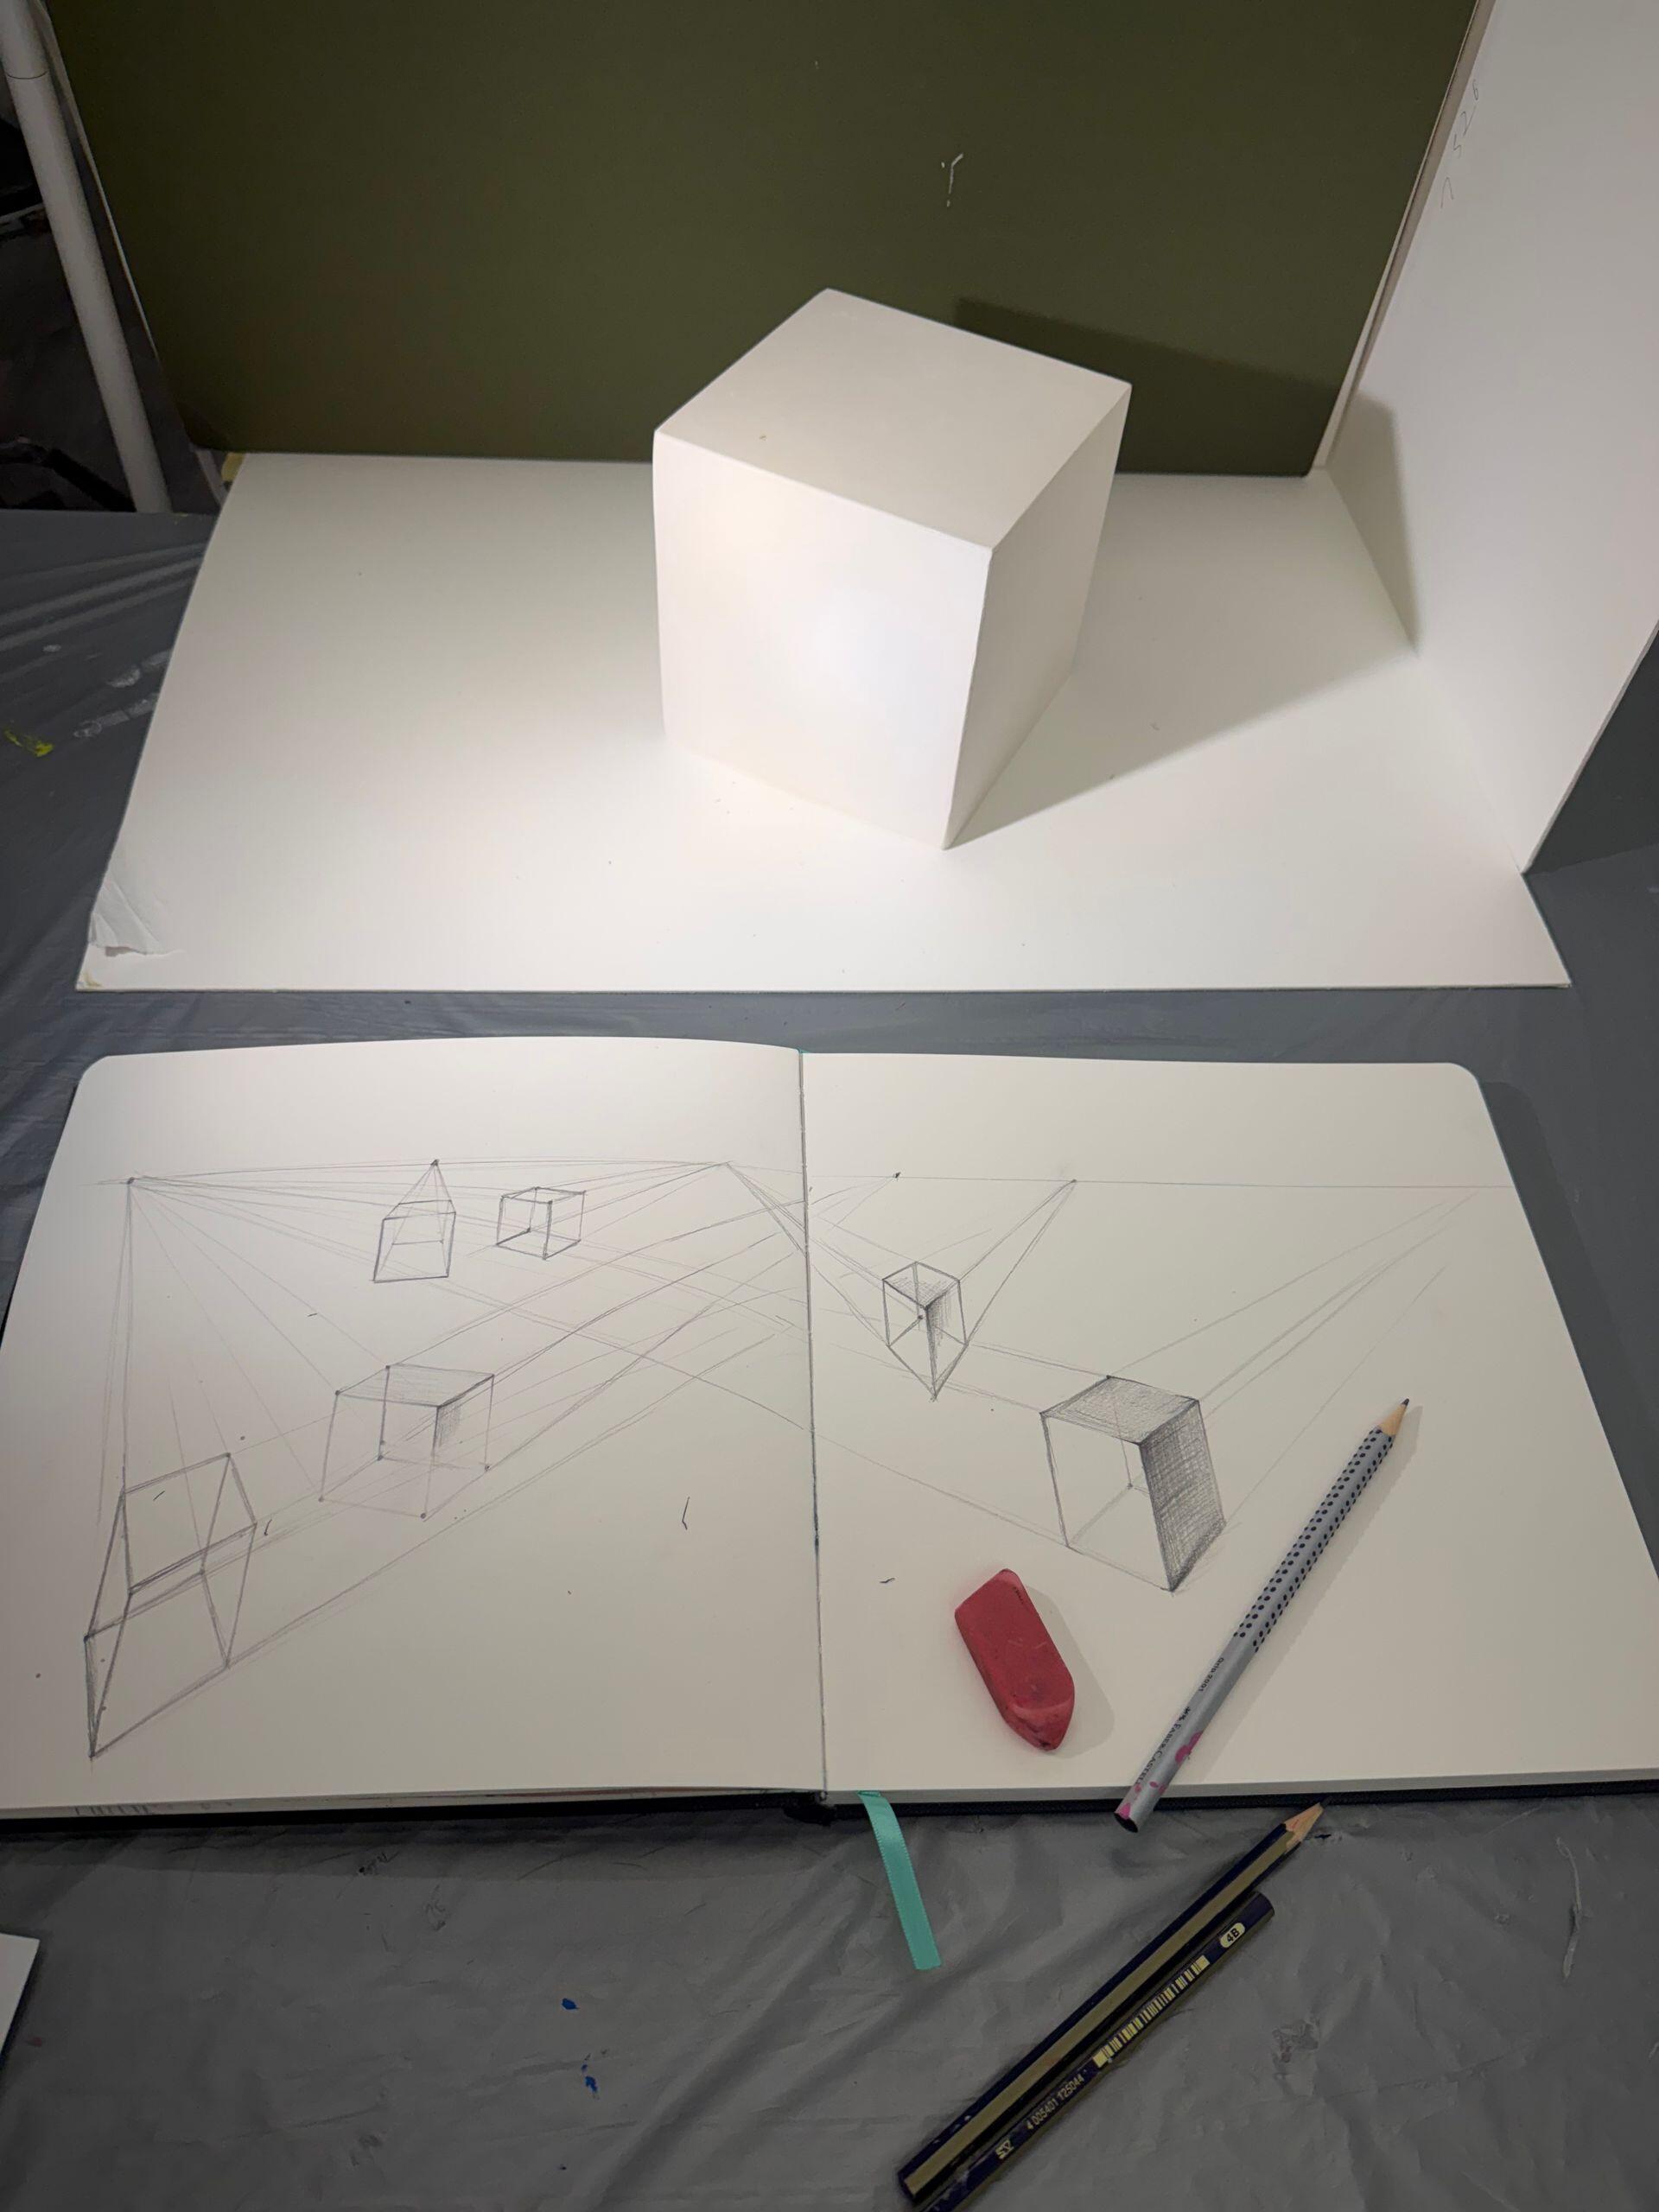
For beginners, a simple sketchbook, HB pencil, eraser, and ruler are enough to start. As your skills improve, you can diversify your drawing tools according to what you plan to draw.
🖥️Digital Tools and Software
There are lots of different types of 3D software. Used for all sorts of purposes, they allow you to create synthesised three-dimensional images.
From 3D architecture to 3D modelling to 3D animation, the design industry has so many options for creating things in three dimensions – today, 3D is everywhere. It is even exceeded by augmented reality and 4D cinema. With 3D modelling software, creatives can now even use 3D printers to realise their designs.
That all depends on your needs. You can use 3D design software online or opt for one that you download to your computer. Here are a few examples of 3D software you could use:
- Adobe Photoshop: An absolute essential to learn about using layers, brushes and shading techniques in illustrations
- Krita: A free drawing app with drawing assistants and customizable brushes for beginners and professionals alike
- Blender: This software offers features for 3D modelling, sculpting, rendering and animation.
- Clip Studio Paint: Excellent choice for detailed illustrations to create realistic three-dimensional scenes
- Procreate: A feature-rich iPad app ideal for sketching, shading, and creating realistic 3D-style artwork
Meanwhile, learn more about 2D and 3D cartoon or manga art.
⭐Tips and Best Practices
You will benefit so much from the advice and experience of an expert drawing teacher, who will help you master the art of drawing in perspective, 3-dimensional drawing and realism.
Through consistent practice, you could learn to draw all sorts of objects such as buildings, hands, or faces, or even create your own comic book.
Creativity is allowing yourself to make mistakes. Art is knowing which ones to keep.
Scott Adams
⚠️Common Mistakes to Avoid
As beginners, mistakes are unavoidable. But here are some tips to identify them and how to overcome them. 6
| Mistake | How to avoid it |
|---|---|
| Adding too many details too early | Start with simple construction shapes and refine only after the proportions look right. |
| Ignoring correct topology | Keep the structure clean and organized before adding extra complexity. |
| Working without enough references | Use real-life objects or reference images to guide proportions and form. |
| Using incorrect lighting and rendering | Choose one light source and keep shadows and highlights consistent. |
| Rushing through the process | Build the object step by step, checking shape, scale, and balance as you go. |
🎯Enhancing Your 3D Drawing Skills
Whether you're a student, hobbyist or aspiring designer in Canada, there are many opportunities to build your 3D drawing abilities.
- Join a local art community: Meet like-minded artists who can exchange ideas and even meet mentors to receive personalised feedback
- Study real-life lighting in changing seasons: Build your observation skills by studying how shadows are different in summer and winter, in terms of brightness and tone
- Develop a regular practice routine: Aim for consistency, whether it's 15-20 minutes daily of basic drawing or longer sessions to complete a more advanced drawing
So are you ready to start 3D drawing? Grab your pencil or charcoal and don’t forget your rubber…or your tablet!
References
- Leonardo. (n.d.). In Google Arts & Culture. Retrieved July 23, 2026, from https://artsandculture.google.com/project/leonardo
- SEO, M. (2025, July 28). What is 3D Drawing and How is it Transforming Interior Design? Elite Boss Interior Design Pte Ltd; Elite Boss Interior Design. https://elitebossinteriordesign.com/what-is-3d-drawing-and-how-is-it-transforming-interior-design/
- Lovett, J. (2022). Perspective Drawing | John Lovett Artist. In john-lovett-artist. https://www.johnlovett.com/perspective-drawing
- Libretexts. (2026, June 30). 3.3: The Role of Contour line in Basic Drawing. Humanities LibreTexts. https://human.libretexts.org/Courses/Coalinga_College/Drawing_Basics/02%3A_Part_II/2.01%3A_Chapter_3-_Exploring_Line/2.1.03%3A_The_Role_of_Contour_line_in_Basic_Drawing
- Fiveable. (2026, March 4). Contour line. Fiveable. https://fiveable.me/drawing-foundations/unit-4/contour-line/study-guide/2xlyul4wop7nxwqn
- Wilson, E. (2023, March 5). Top 5 Mistakes Beginner 3D Artists Make and How to Avoid Them - PlatGS. PlatGS. https://gsplat.tech/top-5-mistakes-beginner-3d-artists-make-and-how-to-avoid-them/
Summarize with AI:
Did you like this article? Leave a rating!


 Loading...